With Summer right around the corner, I’ve been looking for ways to add fresh new accessories to my summer style. And what better way to complete an outfit, then by adding a fun bag! So, instead of going out and spending $$$ on three new bags ( I spent under $10.00 for each one) I decided to revisit an old DIY I did a few years back, in which I turn placemats into clutches. Seriously you guys, this is such an easy DIY and the outcome looks boutique quality (even better there is no sewing!). With so many cute placemats out there, you have to give this DIY a try, I’ll be sharing three different styles in the tutorial (placemats are all from Target)!
*Pro tip: When choosing out a placemat be sure it’s double lined meaning there is two pieces of fabric already sewn together; this allows you to skip adding a lining to the inside of the clutch ( Can you guys tell I like to do the least amount of work, lol) .
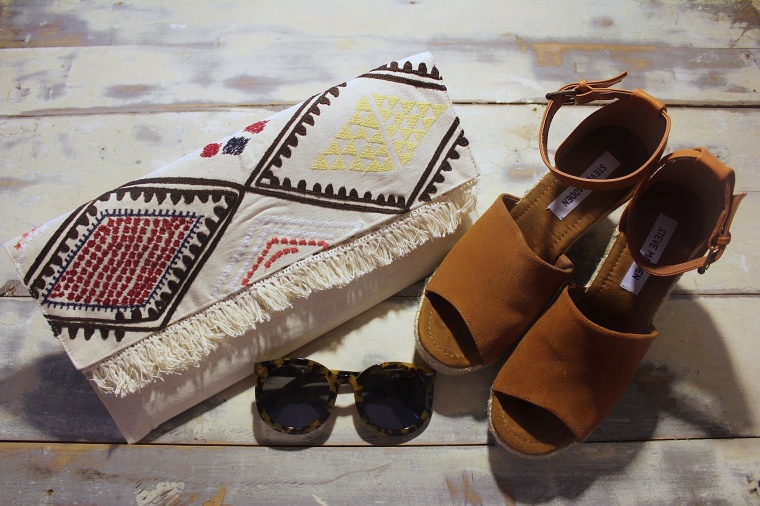
The Tribal Clutch

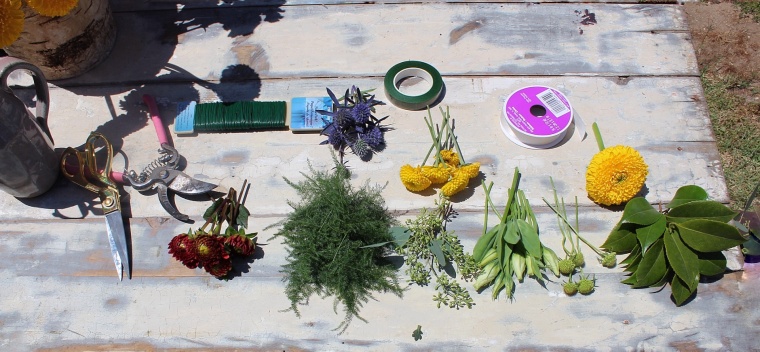
For this DIY you will need:

Step one:
Start by taking a seam ripper (in case an exacto knife lol) and cut all along the bottom and top seam, this will create an opening for the cardstock.

Step two:
Next insert your card stock, making sure it is centered with the bottom and top seems. The cardstock will give the body of the clutch structure, and keep it from sagging once it’s filled with all your goodies.
Now lay your trim on top of the cardstock, at this point you should have a “sandwich” (placemat, cardstock, trim and placemat) add a generous amount of liquid stitch in-between each layer apply pressure to the edge to close everything up.
Take the second piece of card stock and glue it along the opposite seam.

*It should look like this, allow to dry for 5 minutes before moving on to the next step.

Step 3:
The last step is to create the actual pouch area (the size of the pouch will be determined by how far up, you fold the palcemat).
Simply add a generous amount of glue to both sides along the seams, leaving enough space for a flap, hold everything in place with paper clips while its’ drying (24 hrs).
*Pro tip: I used paper clips rather than pins, because pins tend to get glued making it hard to pull them out.

Your all done, the end result should look like this.
Styling your clutch:
I love the bohemian vibe this clutch is giving off, I would style it with a pair of light denim cut-offs a simple white tee and my new favorite Steve Madden wedges. Keeping everything simple, and letting the print become the focal point for a relaxed boho outfit.
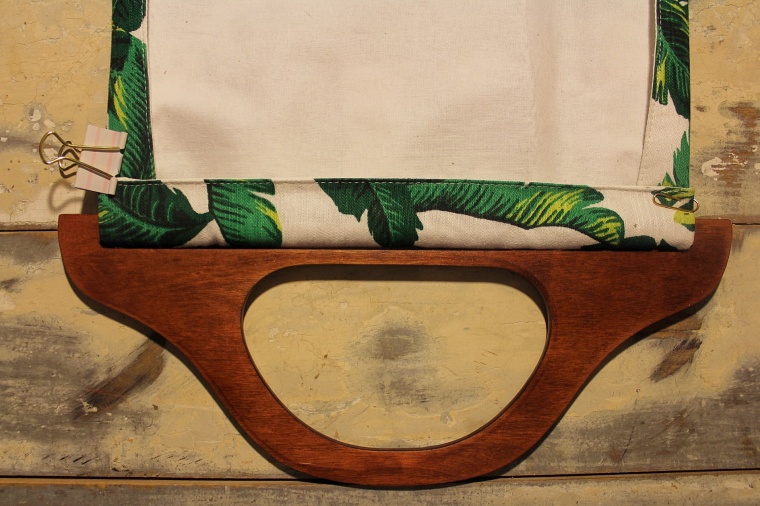
The Palm Clutch

For this DIY you will need:
Step One:
Start by taking in the sides of the placemat, do so until you can slide the bottom through the slits of the handle. Once I lined everything I used several clips to hold everything in place
*Pro tip: Hold off on adding glue, until you have everything set in place.

Step Two:
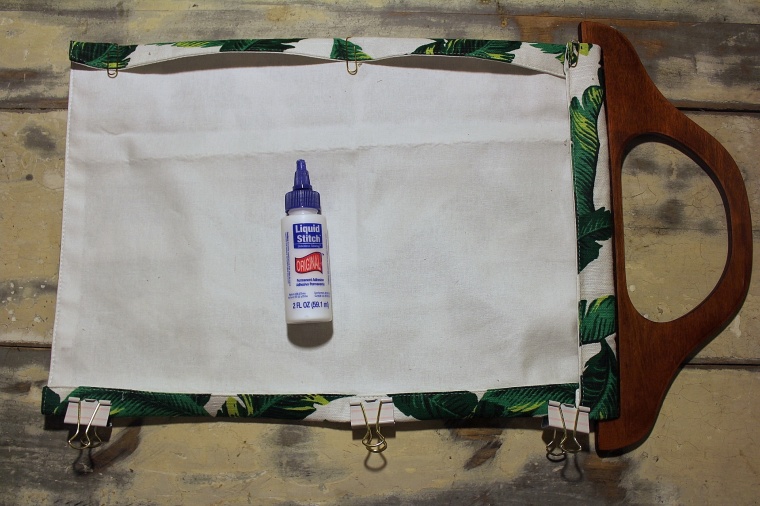
The final step is to add a generous amount of glue to the pre-existing side seams, stopping an inch from the top. Add glue to the underside of the seam running along the handle as well.

Step Three:
Line up the sides, and run your finger along the glued areas applying plenty of pressure secure everything with butterfly clips allow 24hrs before using. You’re all done!

Styling Tip:
I’m getting resort vacation vibes from this clutch, I would pair it with white denim skinnies, a white flowy top and an oversized sun hat for fun tropical weekend look.
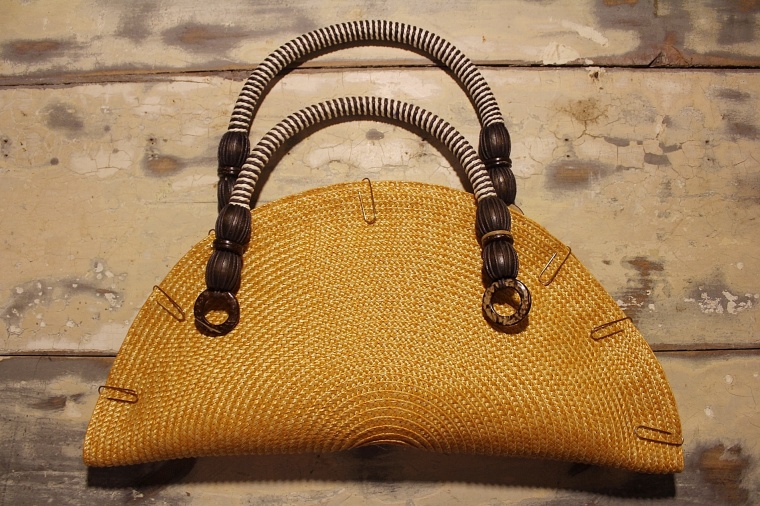
Fiesta Clutch

For this DIY you will need:

Step one:
Making all the mini tassels is time-consuming so…. I recommend watching an episode or two of you favorite show . For this size purse you will need a total of 14 mini tassels (one bundle of floss makes two tassels, just fold in half twice).
*I’m not showing this step, but will link a previous tutorial here.

Step two:
Thread your needle and sew on one of your handles to the placemat.
Step Three:
Fold the placemat in half, use paper clips to hold everything in place, then line second handle to opposite side.

Step Four:
Pull the paper clips out, and lay placemat on a flat surface.
Arrange the tassels into your desired pattern, using a ruler to help space everything evenly.
Once you are happy with the pattern and placement, lift one tassel at a time and apply a dot of glue to the backside. Allow tassels to dry for 10mins, before moving on to the next step.

Step Five:
Apply a thick layer of glue along the entire placemat, then use several paper clips to hold everything down and prevent it from popping back up. Allow to dry over night and you’re all done.

Styling Tip:
This clutch is so fun, that I would go full rainbow pairing it with this embroidered Zara button up, my favorite denim shorts and my pom-pom gladiator sandals. This is the perfect outfit for a summer backyard party.

I’m so happy with how these turned out, styled outfit pictures to come very soon. If any of you recreate this DIY I please tag me on I.G @lifeinmauve and use the #lifeinmauvediy and while you are there don’t forget to give me a follow :).
In the comments below let me know which one is your favorite, how would you style it?
XoX Nayeli

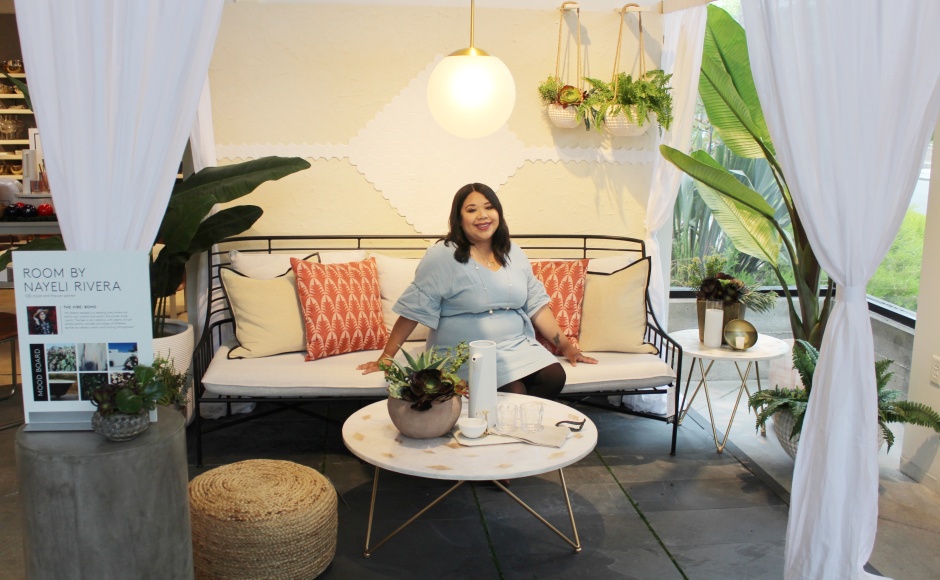


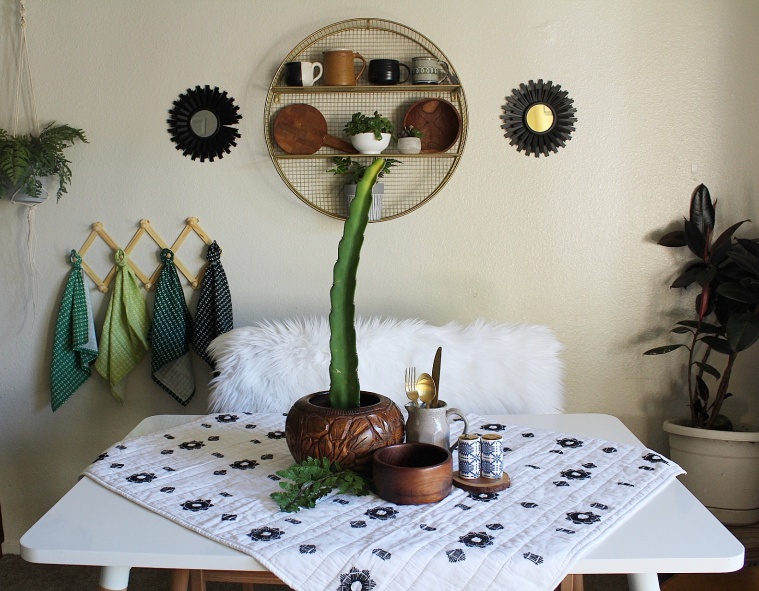
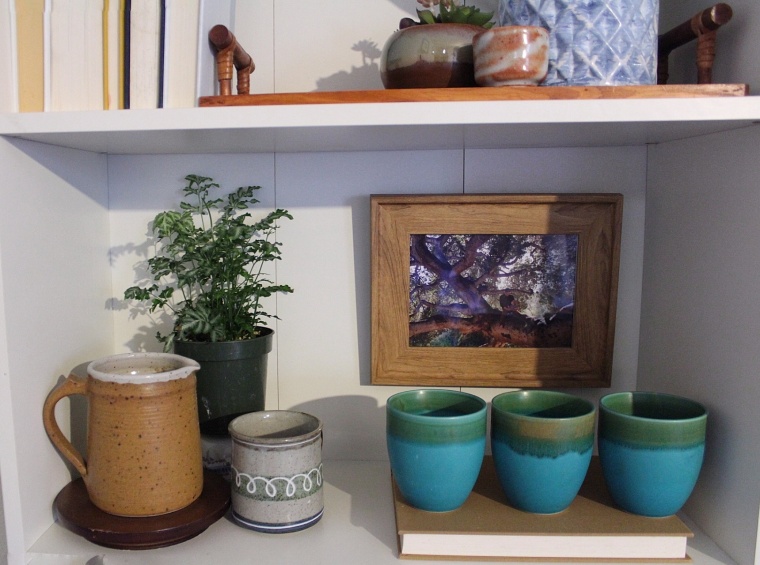
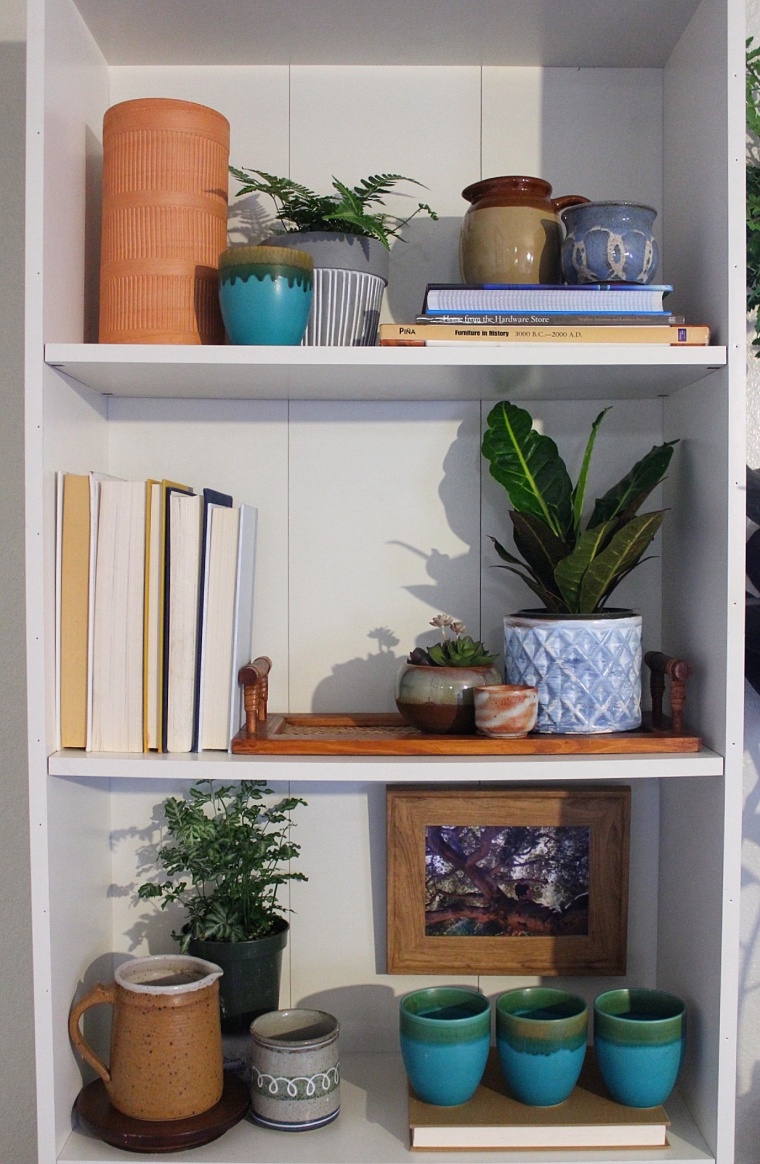
 One thing that is true no matter the space, I always have a general idea of the look I’m going for, or one piece of furniture I want to highlight. In this case I just score this awesome white lacquer dining table from the Salvation Army and wanted to style it, in my own way. I also knew I wanted to use this baby quilt (also thrifted, actually almost everything shown is thrifted) as a table-cloth, the boho pattern really spoke to me and the rest played off of the pattern.


 Finally the day came, and we met with our OB (my forever hero). Unfortunately she didn’t have the results we were hoping for, the mass was too large and she strongly suggested surgery at 14 weeks. I was shocked, I couldn’t believe I had this thing, this tumor growing inside of me and unknowingly. I never experienced ANY type of pain, there were no noticeable signs how was I unaware, how? This is why I titled this post “My Pregnancy Saved my Life” if It wasn’t for that ultra sound, I would have found out too late. During this visit we discussed both options and neither was ideal. Choosing to not have the surgery, meant my chances of a miscarriage would be tripled, waiting t oo long could result in the tumor erupting and cause serious internal bleeding. Not to mention general complications through-out the entire pregnancy. Option two, came with risks as well, removing the cyst could overwhelm baby and cause a miscarriage. If the surgery was successful, I could have a healthy pregnancy which seemed like the only gleam of light. We put our complete trust in our Dr. and decided to go through with the surgery, we knew all three of us were, in the best possible hands.


 o
o 


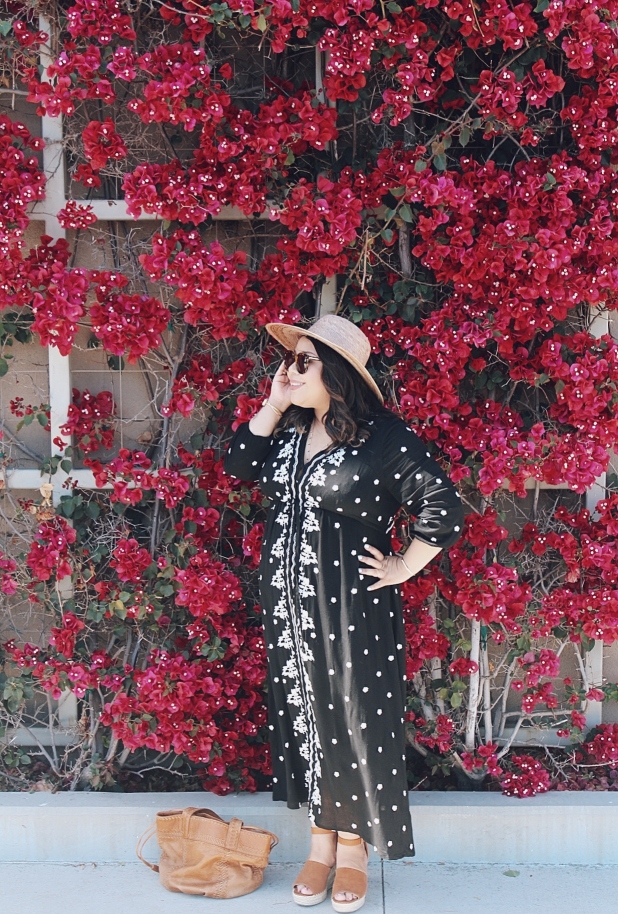
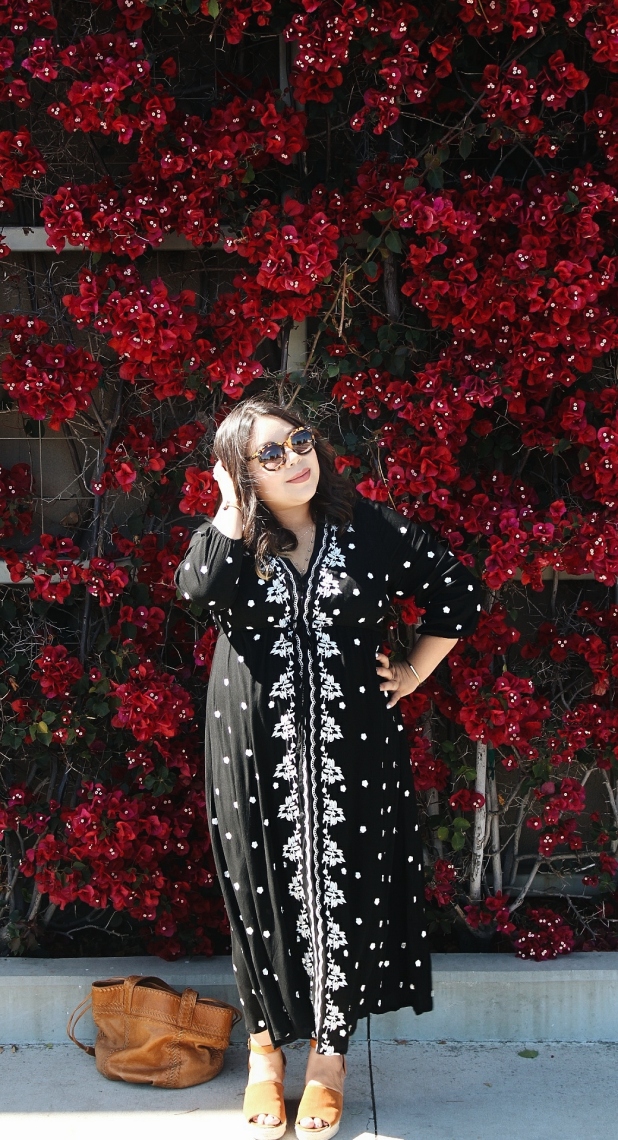


 For jewelry I kept it super simple and minimal, layering my favorite Old Navy dangle necklace and a simple dainty gold chain, mom gifted me from her recent trip to Mexico. For earrings I kept with the dangle theme, throwing on these disc style gold earrings, that catch the light perfectly. On my hands, I went with my two favorite Madewell bracelets, my engagement ring (of course) and a bar Madewell ring as well. I wanted to keep everything simple, to not take away from the beautiful white embroidered flowers.

